Walkways can typically be placed in one of two categories. Whether necessity or style, this project can certainly be taken on by a pro or tackled by an ambitious weekend warrior. Here are the steps you’ll need to take to get down the path to completion (see what I did there with the pun!).
- Determine your width – You’ll need to think about how you’re going to use the path. Is it simply for walking, or will you use it as a thoroughfare for tools, wheelbarrows, and debris from other parts of your property? A walking path width of 2-3 feet provides for comfortable single file movement, but if you’re wanting to stroll side by side with your co-conspirator, or you need to move tools through the area, you may want to consider a 4-5 foot wide path.
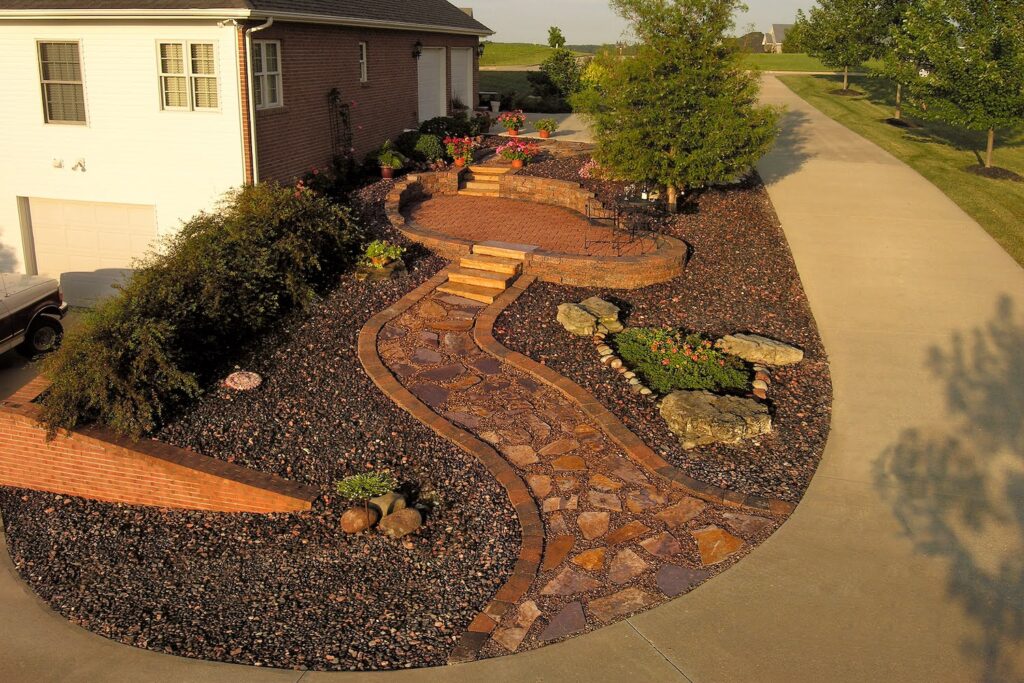
- Lay out your path – Whether taking a meandering stroll through your garden or a straight line to the shed, take the time to properly lay out your walkway. Use a garden hose or rope to lay out curvy lines or a tight string line for straightaways.
- Excavate – While this is likely the most physically demanding portion of the project, it is also the most important. Any walkway is only as good as its base, and that base starts with proper excavation. Whether you’re laying perfectly shaped concrete pavers or natural stone, the preparation should be very similar if not the same. Foot traffic will require 4-6 inches of base plus the thickness of your walkway material. If you plan on driving on your path (yes, your golf cart counts), then keep digging. You’re going to need 8-12 inches of base gravel depending on what you will be cruising in when crossing your beautiful new freeway.
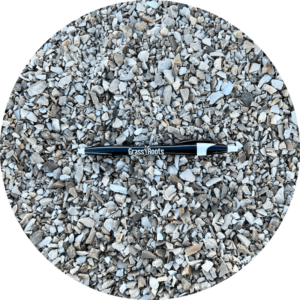
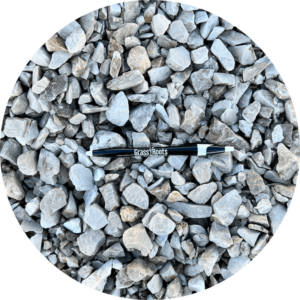
4. Base installation – If you are like me and have plenty of stress to release, then this is your moment! Compaction is key and you can relieve a lifetime of stress, anxiety, and aggression with a handheld tamper. If calm is the name of your game, then you will likely want to rent a motorized plate compactor for the weekend. Place ¾ inch mixed rock (¾” down to 3/8″ sizes mixed together) in your excavated path. Start with a 2-to-3-inch layer then compact until solid. Repeat this process until the desired depth is achieved, leaving the last inch for a non-compacted sand or 3/8″ chips layer. This non-compacted layer will be used to make fine adjustment to your final grade as well as to bed and level your stone or pavers. A slight slope of 1/16” to 1/8” per foot will allow water to run off without being noticeable.
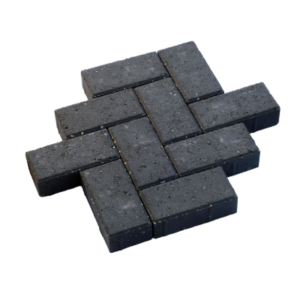
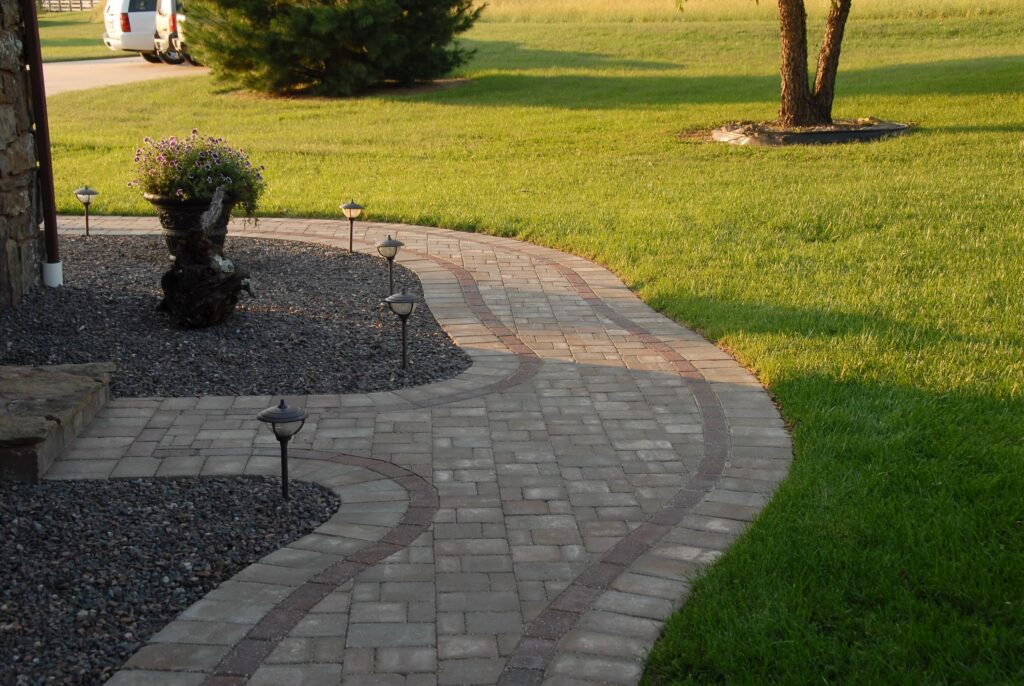
- Surface installation – This is the fun part! Whether tightly fitting pavers together in the desired pattern or flipping flagstones around to find just the right fit in the giant jigsaw puzzle, this is when your project comes to life. You can choose to leave the edges of a natural stone surface raw to give a whimsical or rustic look or cut them to give the edge a more tailored appearance. Pavers will often require cuts to fit the space depending on the desired pattern. A handheld concrete saw with diamond blade or a grinder with diamond blade will need to be purchased or rented for cutting.
- A paver edge restraint will need to be installed after the initial surface installation to keep the pavers tight.
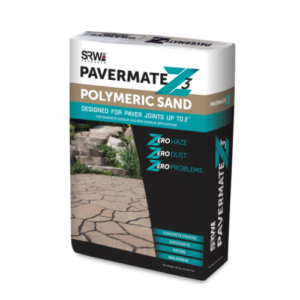
7. Gap filling – Both pavers and natural stone will leave small to medium gaps that will need to be filled. I recommend using polymeric sand to fill either type of joint. Poly sand is typically available in both gray and tan colors as well as narrow and wide gap formulas. A wide gap is typically anything greater than 1 inch, anything less is a narrow gap. Poly sand is poured onto the surface then brushed into the gaps using a broom. Take your time and work the sand into the joints. After your initial sweep into the joints use your hand tamper or plate compactor to set the stone or pavers into the bedding sand below as well as work the poly sand into the joints with vibration. You will need to use a piece of plywood or a paver pad to cushion the surface from the steel of the tamper or plate compactor. Repeat the sanding process to fill the joints to the top one last time. Make sure the surface is clean and no excess sand is left sitting on top of the surface. Once it is activated, the sand will stick wherever it is, so cleanliness is very important. Using a water hose, spray a light sprinkle of water over the surface to wet the sand. The polymer in the sand is activated by water and will harden and lock the sand in place making it the perfect gap filler that will stay in place and not wash out in the rain.
- Backfilling – Almost done…I’m tired! After the sand and surface are dry it is time to backfill against your walkway with topsoil, mulch, or gravel (whatever your project requires). I know you’re exhausted, but don’t let this one slide…it would be like a beautiful bride getting all dressed up for her big day and walking down the aisle with curlers in her hair! Sure, she’s pretty, but with a little extra she’s over the top. You won’t regret this project or all the hard work and attention to detail you put in. One last thought before you go conquer the world (or at least your walkway) … I believe in you…you got this!
Enjoy! Your hard work, toil, misery, sweat, tears, and – if you slip with that saw – blood, have paid off. You may now stroll, skip, swagger, saunter, or roll down your new walkway and beam with pride as your neighbors comment on their way by!