Perennials are plants that come back every year (herbs, flowers, hardy succulents, ground covers, etc.).
Ornamental perennial grasses that come in a wide range of sizes, both vertically and horizontally (Pampas Grass, Maiden Grass, Blue Stem, etc.).
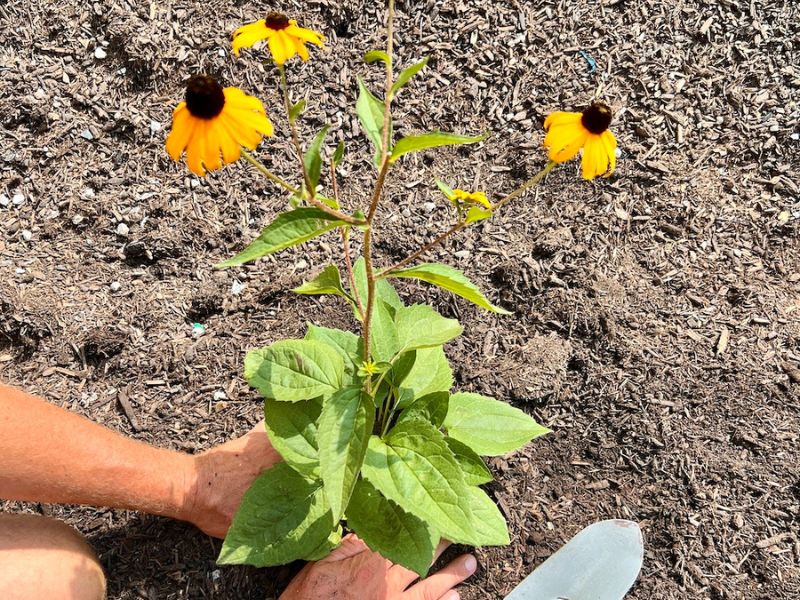
Here’s how to get them started right, after bringing them home from our garden center.
- Dig the hole. Dig the hole the same depth as the container and a few inches wider.
- Place the plant. Be sure to loosen the soil in the pot before attempting to remove the plant. An easy and efficient way is to gently tap/hit or squeeze the sides of the container and then pull at the base of the plant. Try not to pull the plant by the branches since this can damage or even break the plant.
- Tease the roots. Before placing the plant in the hole ‘tease’ or loosen the roots with your fingers. Sometimes the root ball is tightly packed, or root bound; use a sharp knife, hand pruners, etc. and slice (or gently cut) down the sides of the root mass on four sides. This will cut some roots, but that is healthy for the plant and will invigorate root growth.
- Backfill. Backfill around the plant with good, rich, loose soil. Hand tamp around the plant to ensure complete coverage of the roots. Do NOT bury the plant; bring the soil just to the base of the plant. Any higher and the plant may rot, incur fungus, or insect damage.
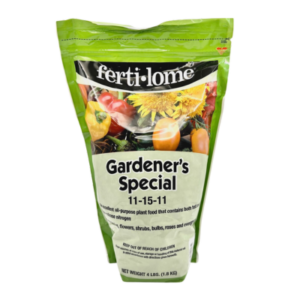
- Fertilize. Apply a recommended or all-purpose granular fertilizer around the base but NOT touching the plant.
- Water. Gently water at the base of the plant, completely soaking the planted area. Try to keep water off the leaf tissue (every watering); this will help prevent leaf scorch, leaf drop, and fungus.
Note on Shock: Some plants may experience shock from the transplant process. This is normal. Signs of shock include leaf curling, leaves dropping, wilting/drooping, or complete defoliation. If this occurs, be sure to keep plenty of water on the root zone (but not too much). It can take a plant (depending on the species and circumstances) a few weeks to recover. Do not give up quickly – keep an eye on it. Do NOT apply more fertilizer; wait about 2 months before feeding again.
_____
Once you’ve done the planting, it’s time to water, mulch, and fertilize.